In this tutorial we’re going to look at how to use the Patient File in AcuGraph 5.
To see the patient file, first type in a patient’s name.
Once you found and selected the patient, there are icons on the top-right corner which shows the:
- Overview
- Patient File
- New Exam
- Last Graph
Let’s start with Overview.
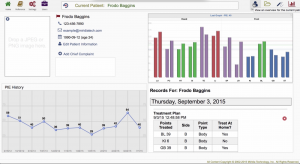
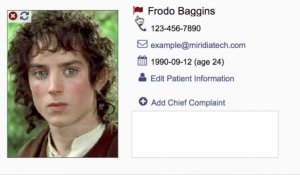
This shows you a general overview about this patient. You can put an image on the patient’s profile to recognize him or her easily and you can also edit the patient’s information if you like.
If you see a red flag beside the name of the patient, it means that you put a warning on that patient to help you remember an important detail about the patient everytime you interact with him or her. For example, a patient has a particular illness that you need to remember or is taking a medication that is important for you to know.
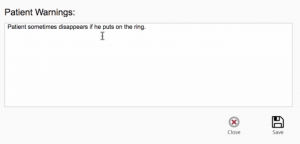
You can click on the flag and it will show you a box where you can write your warnings and it will then appear red as long as there is text saved there as a notification.
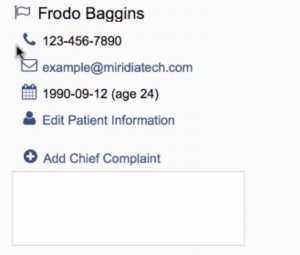
If this text area is empty, the flag will turn white. This is a quick way to see important reminders every time you open the patient’s file.
Other areas of the overview page include:
- PIE History
- Last Graph
- Patient’s record
Each of these are populated with information for at-a-glance reference from other parts of the software.
Patient File
The next major part of the patient record is the Patient File section.
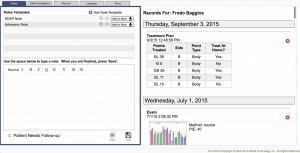
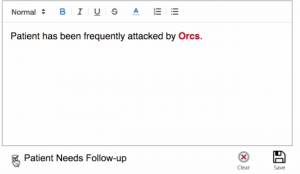
Notice the tabs across the top of the Patient File. Let’s start with Notes where you can type notes in the free typing area or use one of the pre-made templates. When you type in notes, you can customize the text (color and formatting) to help you recognize important details on your notes easily.
You can also tick the box below where it says “Patient Needs Follow-up” and he or she will be automatically added to your follow-up list on the main AcuGraph dashboard. Once your note is complete, you can save it and it will automatically be added to the patient record history.
Chief Complaint
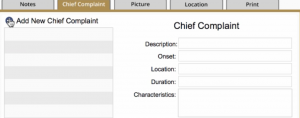
The next tab is Chief Complaint. Here, you create and track chief complaints for the patient. As you edit these and make changes over time, the changes are recorded in your patient record history automatically.
Picture
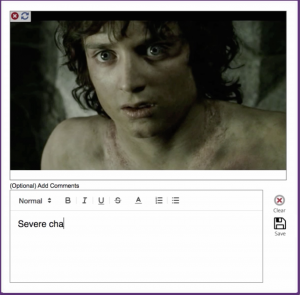
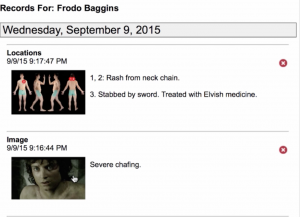
In the Picture section, you can add in whatever images you think are important to be included for the patient. You can also add comments on the picture to provide additional details, as needed. Once saved, the picture will be added to the patient’s record history.
Locations
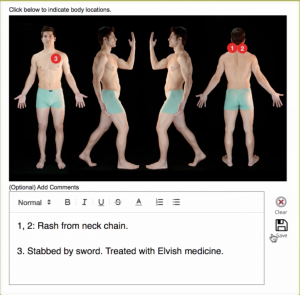
On the Locations tab, it is designed to be especially useful for when you’re doing physical exam on your patient you need to make a note regarding a specific location of the body. Mark the location(s) and add notes specific to those locations.
So, each of these tabs are powerful ways to add information to the patient record history at any time for any patient. If you make a mistake and you want to remove an item from the patient record, you can click on the red X on the item in the history. This will remove the item from your record list.
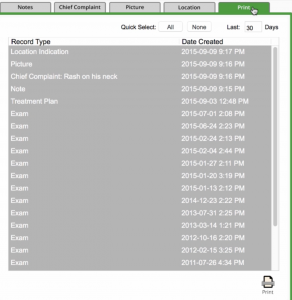
There is also a powerful printing element to the patient file. On the Print tab you can select specific elements from the file and create a quick printout (or email) of the patient record. This is useful for submitting notes to an insurance company, for referring the patient to another practitioner.
AcuGraph 5 gives you a lot of flexibility for how you document and keep records of the patient, with robust records that are created on the fly, so you can always go back and look at patient details whenever you need to. Clicking on an item in the patient record re-opens that item for review.
Our goal with AcuGraph 5 was Case Management from start to finish. Each time you meet with the patient, you can edit, review, create, or add more layers to the patient file over time, giving you a robust record of your interactions with the patient.


