Setting Up Custom Cover Page
In this tutorial we’re going to walkthrough how to add a Custom Cover Page to your AcuGraph reports. Whether you’re going to print or email the report, having a custom cover page gives you a professional image, increases the attractiveness of your report and makes a great marketing tool. We highly recommend you do this.
Step 1 is to create your own custom cover page. You can do that in Microsoft Office, OpenOffice, Pages or whatever word processing office application you like for designing documents. Once you’ve created it, save it as a pdf.
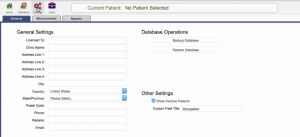
Once you have the PDF ready to go, click on Settings in AcuGraph.
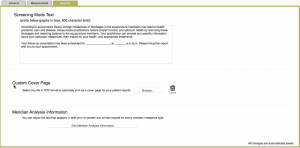
Go to Reports and under Custom Cover Page there is an option to browse your computer and select your new cover page. Browse and select the file you have prepared and a pop-up will show that the custom page has been saved.
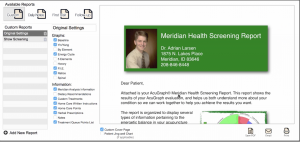
Now when you select a patient and print/email his/her graph, check the box to include your Custom Cover Page on the report. It will show as page 1 of the report.
So it’s just that simple, create the custom cover page you would like for your clinic, and add it to your patient reports on the fly!


